⭐ How To Create Digital Products in Canva (Beginner‑Friendly Tutorial)
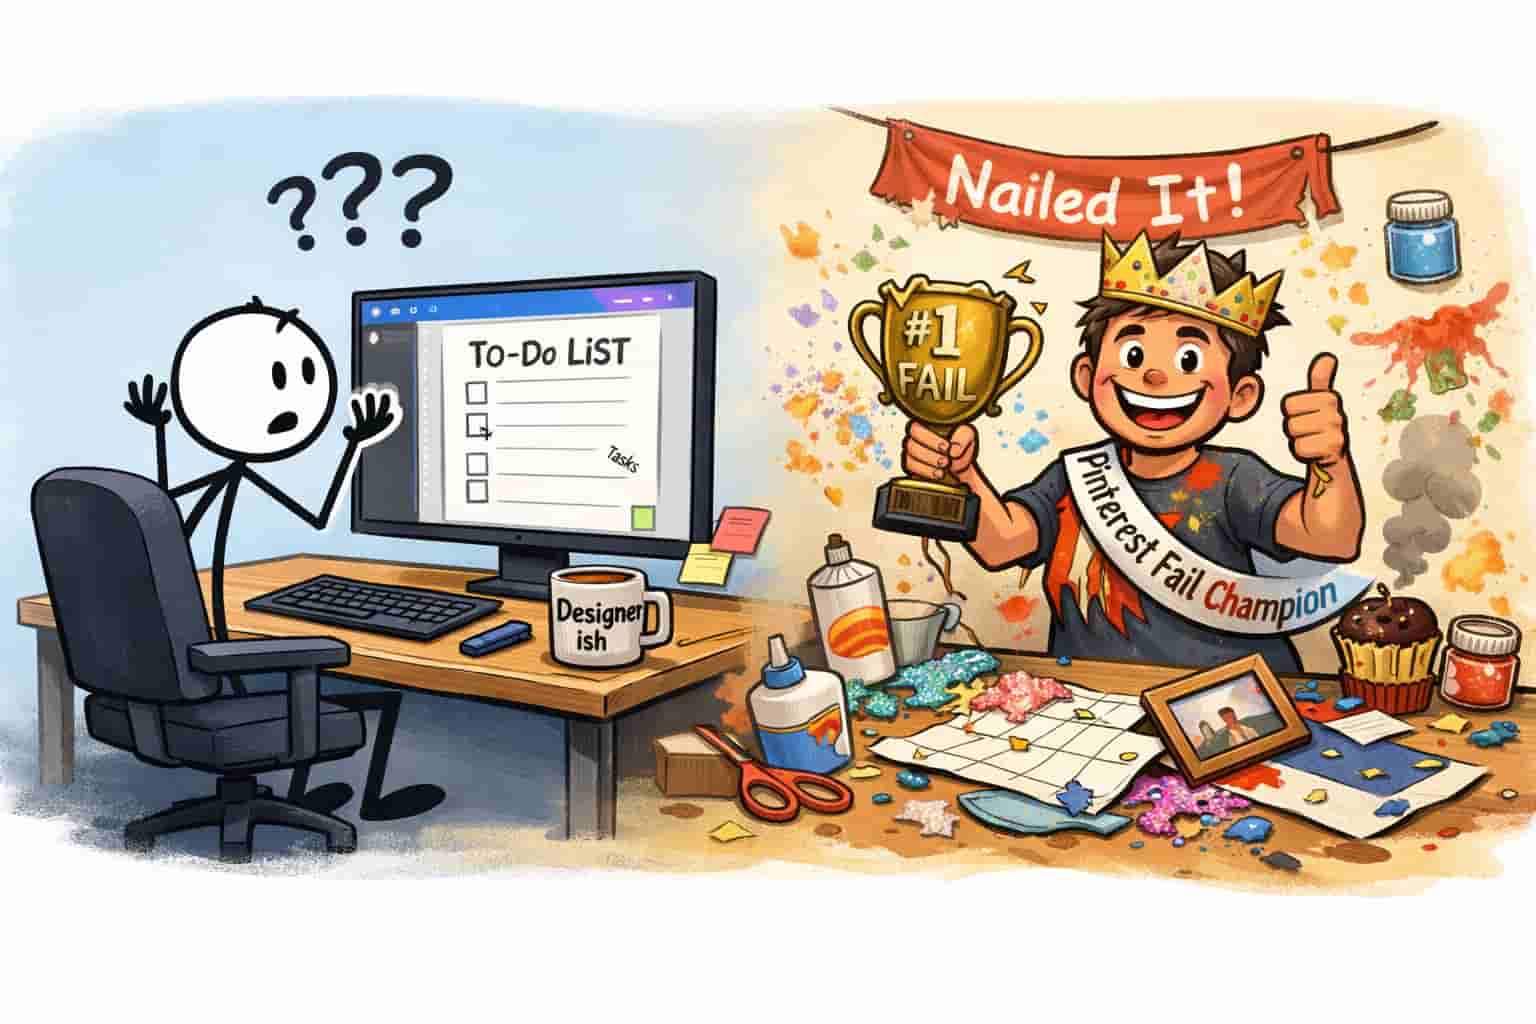
If you’ve ever opened Canva, stared at the blank screen, and thought, “Okay… now what?” — welcome to the club. Learning how to create digital products in Canva is one of the easiest, fastest, and most beginner‑friendly ways to start earning online. And yes, you can do it even if your design skills currently rank somewhere between “stick figure artist” and “Pinterest fail champion.”
 The truth is:
You don’t need design experience.
You don’t need expensive software.
You don’t even need to be creative.
(Seriously — Canva is like the friend who does 80% of the group project.)
This guide will walk you step‑by‑step through how to create digital products in Canva, even if you’ve never designed anything before. By the end, you’ll have a finished product you can sell on Etsy, your blog, or anywhere else you want to make passive income.
⭐ Why Learn How To Create Digital Products in Canva?
Because Canva is basically the “digital product microwave.”
You put in an idea → press a few buttons → ding! You have something cute and sellable.
Here’s why beginners love it:
- Free to use — Canva Free is enough to get started
- Drag‑and‑drop simple — no learning curve, no headaches
- Thousands of templates — planners, journals, checklists, ebooks, worksheets
- Beginner‑friendly tools — alignment guides, grids, color palettes
- Perfect export formats — PDF Print, PNG, JPG
- Works for almost every digital product niche
If you want to sell printables, planners, or templates, learning how to create digital products in Canva is the best place to start.
And if you want to sell them on Etsy, check out:
👉 How To Sell Printables On Etsy (Beginner Guide)
If you’re curious about whether selling digital products is actually worth it, this guide from Gold City Ventures breaks down the real pros and cons of selling digital products on Etsy
⭐ What You Can Make in Canva (Beginner‑Friendly Ideas)
Here are digital products you can create today without crying, Googling, or sacrificing your sanity:
Printable Products
- daily planners
- weekly planners
- monthly planners
- habit trackers
- budget sheets
- meal planners
- cleaning schedules
- chore charts
- gratitude journals
- affirmation cards
Business Templates
- social media templates
- Instagram story packs
- Pinterest pin templates
- ebook covers
- media kits
- business forms
- client welcome packets
Kids & Education
- worksheets
- flashcards
- activity pages
- coloring sheets
- reward charts
Creative Products
- wall art
- quote prints
- invitations
- cards
- calendars
If you want more ideas, check out:
👉 Best Digital Products To Sell For Beginners
⭐ How To Create Digital Products in Canva: Step‑By‑Step
This is the part where Canva becomes your new best friend.
Step 1: Choose your product idea
Start simple. Your first product should be something like:
- a daily planner
- a habit tracker
- a simple checklist
- a one‑page worksheet
- a printable journal page
These sell well and are easy to design.
If you’re stuck, ask yourself:
- What do I use daily?
- What do I wish I had?
- What do people search for on Etsy?
- What problems can I solve with a printable?
Step 2: Open Canva and choose your size
For printables, the most common sizes are:
- US Letter (8.5 x 11) — most popular
- A4 — international
- 8 x 10 — wall art
- Square — social media templates
Pro tip:
If you plan to sell on Etsy, offer multiple sizes. Buyers love options.
Step 3: Build your layout
Start with:
- a title
- a few boxes or sections
- lines or bullet points
- simple shapes
- icons (sparingly)
Keep it clean.
If your design starts looking like a scrapbook explosion, take a breath and delete half of it.
Layout tips that make a HUGE difference
- Use consistent spacing
- Align everything (Canva has guides!)
- Keep margins even
- Use grids to structure your page
- Don’t overcrowd — white space is your friend
Step 4: Choose your fonts and colors
Use:
- 1–2 fonts
- 2–3 colors
- lots of white space
White space = classy.
Clutter = chaos.
Too many fonts = Etsy buyer runs away.
Step 5: Add functional elements
Depending on your product, add:
- checkboxes
- calendars
- trackers
- prompts
- icons
- lines
- tables
- shapes
- arrows
Make sure everything is readable and spaced evenly.
Step 6: Add branding (optional but smart)
Add a tiny footer with:
- your shop name
- your website
- your Instagram handle
This helps people find you again.
Step 7: Export your digital product
Export as:
- PDF Print for printables
- PNG for wall art
- PDF Standard for ebooks
- JPG for social media templates
Make sure “Crop marks and bleed” is OFF unless you know what you’re doing (you don’t — and that’s okay).
⭐ Advanced Tips: How To Create Digital Products in Canva That Look Professional
These tips make your product look like you hired a designer (you didn’t, but we’ll keep that secret).
Use consistent spacing
Your spacing should look intentional, not like you eyeballed it at 2 AM.
Use Canva’s alignment tools
Click → Shift → Align.
Boom. Professional.
Use a simple color palette
Try:
- neutrals
- pastels
- muted tones
- monochrome
Avoid neon unless your target audience is rave enthusiasts.
Use high‑quality fonts
Stick to:
- Sans serif for modern
- Serif for elegant
- Script for accents only
Preview before exporting
Zoom out.
Zoom in.
Ask yourself: “Would I buy this?”
⭐ Common Beginner Mistakes (Avoid These!)
- Using 7 fonts (please don’t)
- Making text too small
- Forgetting margins
- Overusing graphics
- Exporting in the wrong format
- Using copyrighted elements
- Designing for 3 hours and forgetting to save
- Making everything bold “just because”
- Adding too many colors
- Using Canva elements that aren’t allowed for resale
⭐ How To Create Digital Products in Canva That Actually Sell
Creating is the easy part. Selling is where the magic happens.
Here’s what to do next:
1. Upload your product to Etsy
Use:
- clear titles
- SEO keywords
- mockups
- multiple images
- a detailed description
2. Create mockups
Mockups help buyers visualize your product.
Use:
- desk scenes
- tablet mockups
- printer mockups
- lifestyle images
3. Offer multiple versions
People LOVE options.
Offer:
- color + black & white
- US Letter + A4
- Monday start + Sunday start
4. Bundle products
Bundles = higher price + more value.
5. Add SEO keywords
Use:
- “printable planner”
- “digital download”
- “instant download”
- “minimalist planner”
6. Promote your product
Share on:
- your blog
- your email list
If you’re looking for beginner‑friendly inspiration before you start designing, this guide from The Savvy Couple is a great place to start. They break down how to make printables to sell, what types of products beginners should focus on, and why digital downloads are such a powerful income stream: https://thesavvycouple.com/how-to-make-printables-to-sell/
⭐ How to Create Mockups for Your Digital Products (Beginner‑Friendly + Zero Stress)
If you want your digital products to actually sell, you need mockups. Mockups are the “Instagram filter” of the printable world — they make everything look 10x better with zero effort.
A plain PDF screenshot?
Looks like homework.
A cute planner page sitting on a desk with a coffee cup?
Suddenly it’s “OMG take my money.”
And here’s the best part: when you’re learning How To Create Digital Products in Canva, mockups are the secret weapon that instantly makes your work look polished and professional — even if you’re a total beginner.
This section will show you exactly how to create mockups that make your Canva products look irresistible.
⭐ Why Mockups Matter (A Lot More Than You Think)
Mockups do three magical things:
1. They help customers visualize the product
People don’t want to imagine what your printable looks like. They want to see it.
2. They instantly increase perceived value
A $2 printable suddenly looks like a $7 printable.
3. They make your Etsy listing stand out
Etsy is basically a beauty pageant.
Mockups = makeup + hair + lighting.
4. They build trust
A clean, professional mockup tells buyers:
“This seller knows what they’re doing.”
This is especially important when you’re learning How To Create Digital Products in Canva and want your listings to look legit from day one.
⭐ Where to Get Mockups (Free + Paid Options)
You don’t need Photoshop.
You don’t need fancy software.
You don’t need to cry into your keyboard.
Here are the easiest places to get mockups:
1. Canva (Free + Pro)
Search for:
- “mockup”
- “frame mockup”
- “desk mockup”
- “tablet mockup”
- “printable mockup”
Canva has hundreds of ready‑to‑use mockups — perfect for anyone learning How To Create Digital Products in Canva without extra tools.
2. Creative Fabrica
Great for:
- planners
- journals
- worksheets
- wall art
3. Etsy
Yes — Etsy sellers sell mockups too.
Meta? Yes.
Useful? Also yes.
4. Placeit
Perfect for:
- tech mockups
- lifestyle mockups
- tablet + phone displays
5. Free Mockup Sites
- Pexels
- Unsplash
- RawPixel
(Just make sure the license allows commercial use.)
⭐ How to Create Mockups in Canva (Step‑By‑Step)
This is the easiest method and perfect for beginners — especially if you’re already learning How To Create Digital Products in Canva.
Step 1: Open Canva and search “mockup”
Choose a style that matches your product:
- minimalist
- boho
- colorful
- modern
- neutral
Step 2: Upload your digital product
Upload your:
- planner page
- checklist
- worksheet
- journal page
- wall art
Step 3: Drag your design into the mockup frame
It will automatically snap into place.
If it doesn’t, choose:
Effects → Smartmockups
Then adjust:
- crop
- angle
- fill
- fit
Step 4: Adjust the background
You can:
- change the color
- add props
- add shadows
- add textures
- add a desk scene
Step 5: Add text (optional)
Examples:
- “Instant Download”
- “Printable PDF”
- “US Letter + A4 Included”
- “Perfect for Beginners”
Step 6: Export your mockup
Use:
- PNG for Etsy
- JPG for blog posts
- High Quality for Pinterest
⭐ Mockup Styles That Sell Best
1. Minimalist Desk Mockups
White desk, pen, plant.
Clean. Modern. Always works.
2. Lifestyle Mockups
Coffee cup, cozy sweater, planner on a table.
Perfect for journals + planners.
3. Tablet Mockups
Great for:
- digital planners
- ebooks
- templates
4. Frame Mockups
Perfect for wall art sellers.
5. Flat Lay Mockups
Top‑down view with props.
Very Pinterest‑friendly.
⭐ Mockup Mistakes Beginners Make (Avoid These!)
- Using blurry mockups
- Using mockups with weird shadows
- Using mockups with props that distract
- Using mockups that don’t match your niche
- Using mockups with too many colors
- Using mockups that look “cheap”
- Using mockups that don’t show the product clearly
- Using mockups with text that’s too small to read
If your mockup looks like a crime scene, Etsy buyers will scroll right past.
⭐ How Many Mockups Should You Use?
For Etsy:
- 5–10 images per listing
- 2–3 mockups
- 1–2 close‑ups
- 1 features list
- 1 “what’s included” image
- 1 size chart
- 1 lifestyle image
For your blog:
- 1–2 mockups
- 1 Pinterest pin
- 1 social media image
⭐ Mockup Examples for Different Niches
Planners
- desk mockup
- clipboard mockup
- tablet mockup
Wall Art
- frame mockup
- gallery wall mockup
- nursery room mockup
Kids Worksheets
- colorful desk mockup
- school supplies mockup
- clipboard mockup
Business Templates
- laptop mockup
- tablet mockup
- clean desk mockup
⭐ Pro Tips to Make Your Mockups Stand Out
- Use consistent colors across all images
- Use the same style of mockup for your whole shop
- Add your branding subtly
- Keep text minimal
- Make sure your product is readable
- Use high‑resolution images
- Test different mockups to see what converts
Mockups aren’t just decoration — they’re marketing. And when you’re learning How To Create Digital Products in Canva, mastering mockups is one of the fastest ways to look like a pro.
⭐ How to Stand Out in a Crowded Niche -13 Ways
Let’s be honest: Etsy, blogging, and the digital product world can feel like a giant Costco on a Saturday afternoon — crowded, overwhelming, and full of people selling planners that all look suspiciously similar. But here’s the truth: you can stand out, even in a saturated niche, especially when you understand How To Create Digital Products in Canva in a way that highlights your unique style, voice, and value.
This section will show you exactly how to rise above the noise and make your digital products impossible to ignore.
⭐ 1. Add Your Unique Style (Most People Don’t)
Most sellers copy whatever is trending.
You’re not “most sellers.”
Your style can be:
- minimalist
- bold
- colorful
- boho
- neutral
- feminine
- modern
- playful
When you’re learning How To Create Digital Products in Canva, your style becomes your signature. People will start recognizing your designs instantly — and that’s how you build a brand.
⭐ 2. Solve a More Specific Problem
Instead of making a generic “Daily Planner,” make:
- a “Daily Planner for Busy Moms”
- a “Daily Planner for ADHD Brains”
- a “Daily Planner for Night Shift Workers”
- a “Daily Planner for College Students”
Specificity = sales.
People don’t want “a planner.”
They want their planner.
You can also check out How To Sell Digital Planners On Etsy
⭐ 3. Use Better Mockups Than Everyone Else
Most sellers use the same boring mockups.
You’re going to use:
- lifestyle mockups
- tablet mockups
- cozy desk scenes
- clean minimalist layouts
Mockups are one of the fastest ways to stand out — especially when you’re mastering How To Create Digital Products in Canva and want your listings to look premium.
⭐ 4. Offer More Value Than Competitors
You can stand out by offering:
- multiple sizes (US Letter + A4)
- color + black & white versions
- bonus pages
- matching templates
- a mini bundle
- editable Canva versions
People LOVE getting more than they expected.
⭐ 5. Use Clear, Beautiful Branding
Branding makes you memorable.
Add:
- consistent colors
- consistent fonts
- a recognizable style
- a tiny footer with your shop name
- a cohesive look across all listings
Branding is one of the easiest ways to stand out when learning How To Create Digital Products in Canva because Canva makes it simple to reuse your brand elements.
⭐ 6. Write Better Titles and Descriptions
Most sellers write:
“Daily Planner Printable PDF”
You’re going to write:
“Minimalist Daily Planner Printable — Instant Download — Productivity Layout for Busy Women”
Clear. Keyword‑rich. Buyer‑friendly.
Descriptions should:
- explain the benefits
- show what’s included
- answer questions
- reduce buyer hesitation
Good copy = more sales.
⭐ 7. Create a Cohesive Shop or Blog Theme
People trust shops that look organized and intentional.
Your theme could be:
- wellness
- productivity
- budgeting
- homeschooling
- business templates
- self‑care
- minimalism
A cohesive theme makes you look like an expert — and experts stand out.
⭐ 8. Add Personality (Most Sellers Don’t)
Your personality is your superpower.
Add:
- humor
- warmth
- encouragement
- a friendly tone
People buy from people they like.
And personality is something no one can copy.
⭐ 9. Focus on Quality Over Quantity
You don’t need 500 listings.
You need 20 excellent ones.
High‑quality products:
- get more favorites
- get more reviews
- get more repeat buyers
- get more algorithm love
Quality always wins.
⭐ 10. Keep Improving Your Skills
The more you practice How To Create Digital Products in Canva, the better your designs become — and the more you stand out naturally.
Improve:
- layout
- spacing
- typography
- color theory
- mockups
- branding
Every product you make gets better.
Every improvement makes you more unique.
⭐ 11. Offer Something Competitors Don’t
Examples:
- editable versions
- matching bundles
- seasonal variations
- niche‑specific templates
- hyper‑specific planners
- printable + digital versions
Innovation = differentiation.
⭐ 12. Build Trust With Social Proof
People trust:
- reviews
- testimonials
- customer photos
- “what’s included” images
- clear previews
Trust = conversions.
⭐ 13. Stay Consistent (Most Sellers Quit)
The #1 way to stand out?
Don’t disappear.
Most sellers quit after 3–6 months.
If you keep creating, improving, and learning How To Create Digital Products in Canva, you automatically rise above 80% of your competition.
Consistency is your competitive advantage.
⭐ How To Create Digital Products in Canva for Your Blog
If you have a blog, your Canva products can:
- grow your email list
- become freebies
- become paid products
- become tripwires
- become bundles
- become passive income
If you want to monetize templates, check out:
👉 How To Make Money Selling Checklists And Templates
If you want a deeper walkthrough on how to actually sell your digital products on your blog, this tutorial from The She Approach breaks down exactly how to sell ebooks and printables on a WordPress site using SendOwl. It’s super beginner‑friendly and pairs perfectly with learning how to create digital products in Canva:
⭐ FAQ: How To Create Digital Products in Canva
1. Do I need Canva Pro?
Nope! Free Canva works perfectly for beginners.
2. Can I sell Canva templates?
Yes — as long as you follow Canva’s licensing rules.
3. What’s the easiest digital product to make?
Checklists, trackers, and planners.
(They’re simple, useful, and always in demand.)
4. How long does it take to create a digital product?
Your first one: 30–60 minutes.
Your tenth one: 10 minutes while eating a sandwich.
5. Can I really make money with Canva digital products?
Absolutely — thousands of sellers do.
The key is consistency and quality.
⭐ Final Thoughts
Learning how to create digital products in Canva is one of the easiest ways to start earning online. You don’t need design skills, fancy tools, or a huge audience — just a simple idea and Canva’s drag‑and‑drop magic.
Start small.
Keep it simple.
Make it useful.
And most importantly… actually publish it.
You’ve got this.
If you’re looking for even more inspiration on what types of printables you can create, this post from Start A Mom Blog has a huge list of printable ideas and examples that are perfect for beginners. It’s a great resource to browse before you start designing your own products in Canva